Recurring Tasks With Evernote
NOTE: This was originally posted on biggreenapp.com and has been migrated here.
Evernote is powerful and there are other ways to create recurring tasks, although this will no longer work as Filterize is no longer active. It is still helpful to share this old post.
One reason I’ve heard that Evernote won’t work for even simple task management is the inability to create recurring tasks.
NOT TRUE!
Let me show you how to set up recurring tasks with reminders, utilizing a template you specify.
To do this, I will create a daily timesheet with a reminder set for 4:15 pm — when I need to send the timesheet to the office.
What We Will Need:
- An Evernote Account (kind of a given)
- An IFTTT account
- A Filterize account (UPDATE: Filterize is no longer available)
- A Google account with a reminder calendar synced with Evernote using Cronofy. See this post for instructions
A free account for each will work just fine.
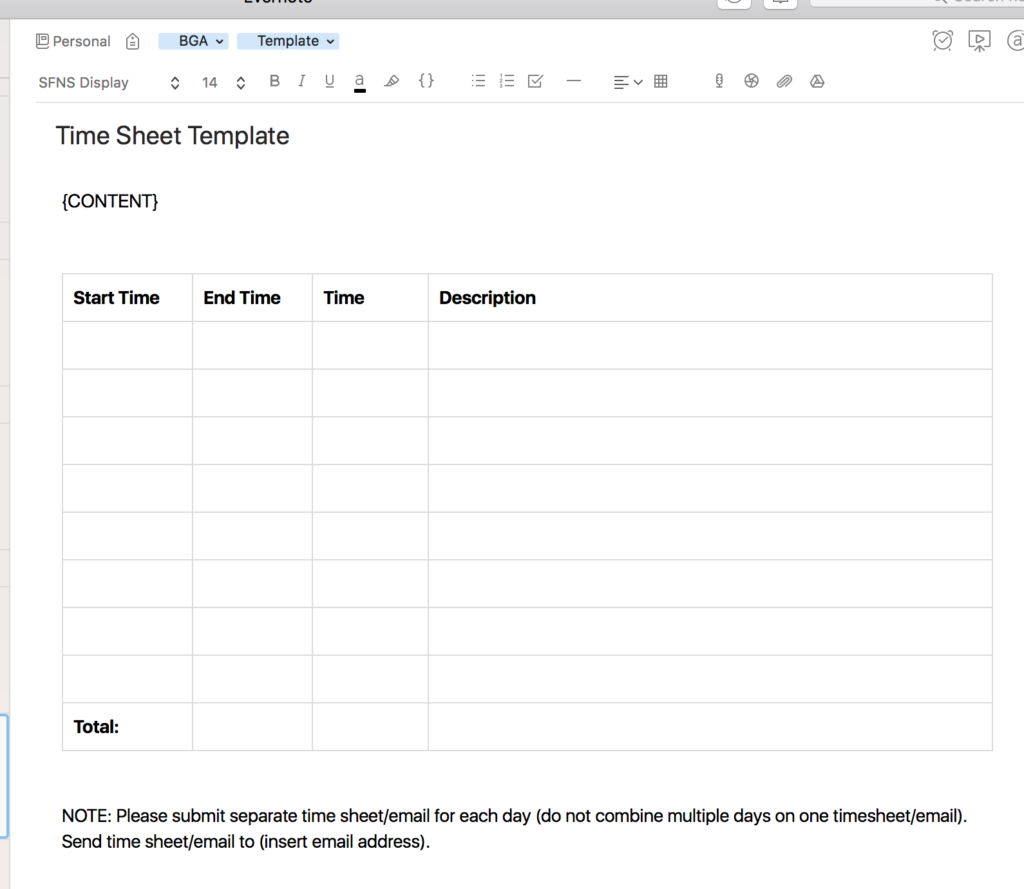
Step 1: Let’s Create Our Template
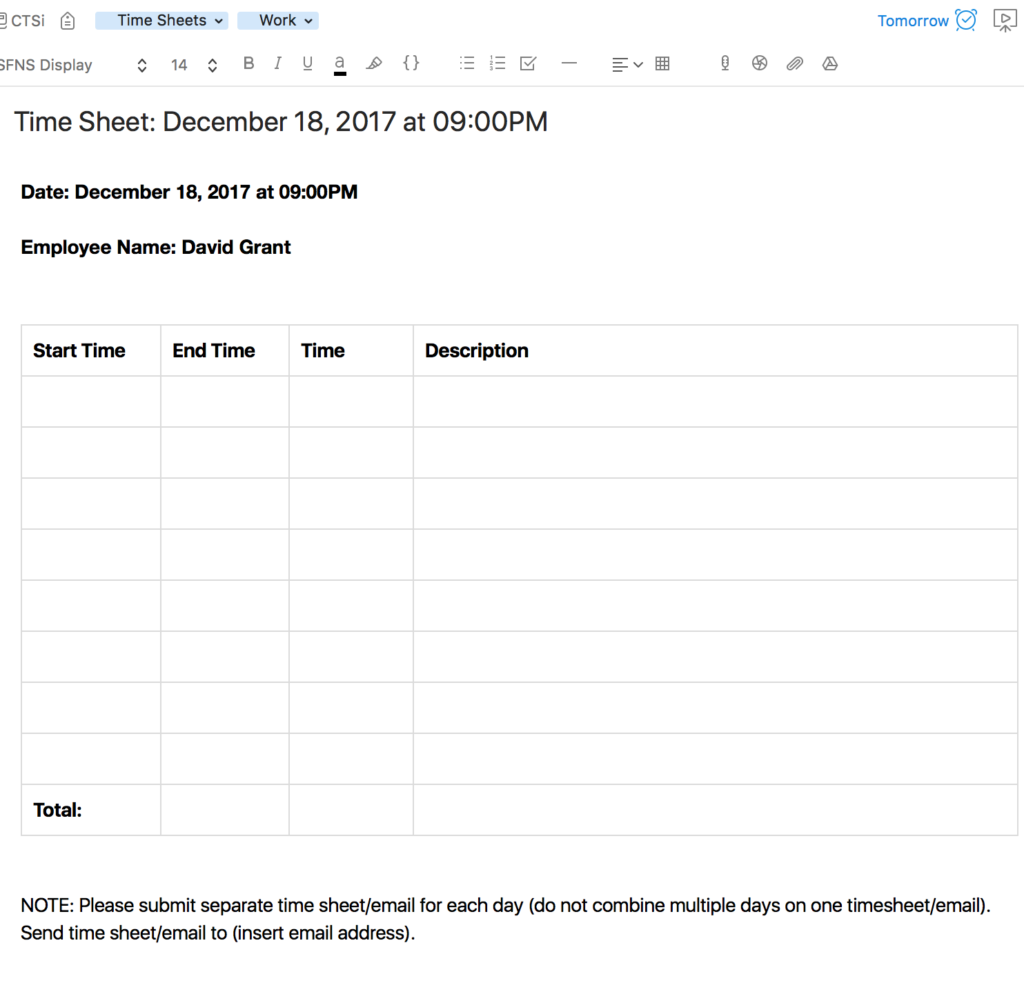
I created this basic template as an example. Notice the {CONTENT} placeholder.
This is important because the note this template will apply to will have content already in it. When the template is added, the {CONTENT} placeholder specifies where that content will go.
It’ll make more sense later.
Step 2: Create New Notes At Regular Intervals
Once logged in to IFTTT.com, Click “New Applet” from the “My Applets” tab.
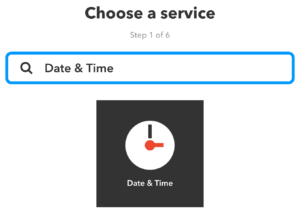
Click on the “+ This” text in the center of the page and search for “Date & Time” and select that trigger.
Choose the frequency you want. There will be more customization after you make your choice. Since we don’t need to have our time sheets on the weekends,
— #worklifebalance —
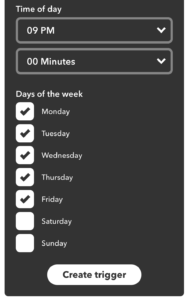
We’ll choose ”Every day of the week at” and we’ll choose the following:
9 pm (I would set this to my normal start time, but I want this trigger to fire in the next hour and I’m writing in the evening. For you… what time do you start your day?)
M-F
Click “Create Trigger”
Next, click the blue “+That” text.
Search “Evernote” and select that service.
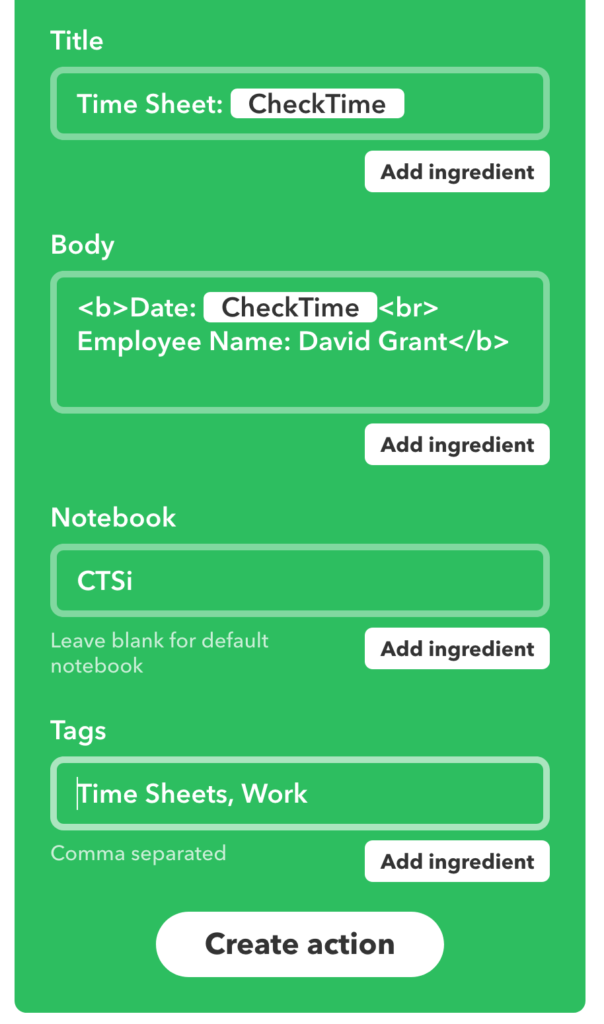
Choose “Create a note” and enter the following settings:
- Title: “Time Sheet: {{CheckTime}}” — This will add the date and time to your time sheets when a note is created.
- Body: “<b>Date: {{CheckTime}} Employee Name: David Grant</b>” — Don’t forget to change my name to yours — This will add bold text to your note with the date and your name. This is the content of the note and will be used with the “{CONTENT}” placeholder in your template.
- Choose your notebook — I’ll place mine in my work notebook.
- Add the “Time Sheets” tag along with any other tags you’d like. Since I use Context in my workflow,
I’ll add my location, “Work” - Click “Create Action.”
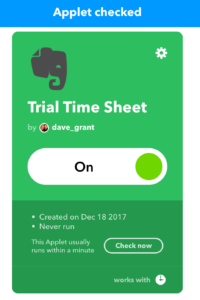
- You’ll next be able to create a title and move to a page to check your applet.
Step 3: Apply your template any time the note is created and set a reminder
Using just IFTTT to create your note may work just fine for you, but if you want to have a reminder with a specific time set with a more complex template like ours, we need to look at a different tool. That’s where Filterize comes in. Filterize is an impressively robust app that allows a similar type of connection of services and actions. The free account allows for three filters. We’ll use one for this workflow.
Note: I’ll be using the new Beta Console because it’s a nicer interface.
You’ll have to do the typical dance to validate your account with Evernote to set up your account the first time.
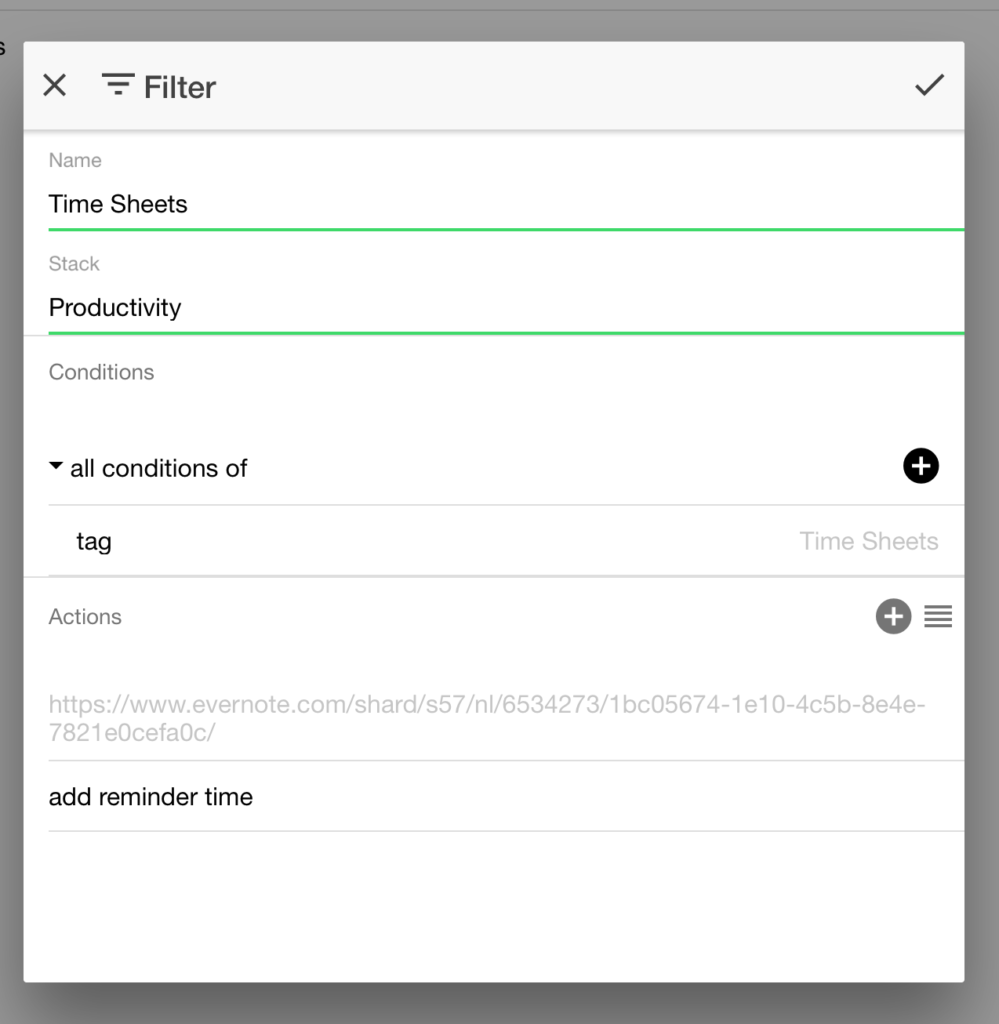
From the Filters item in the left-hand menu, click on the “+” on the right side of the page to create a new Filter. Fill out the form with the following:
- Name: Time Sheets
- Stack: Productivity
- All Conditions Of: Tag — Time Sheets (be sure to add this. The tag will trigger the template)
Click the “+” and find “Apply Template”
You’ll have a field to apply the template URL. To get this, in Evernote, highlight the note and go to the Note menu and select “Copy Note Link.”

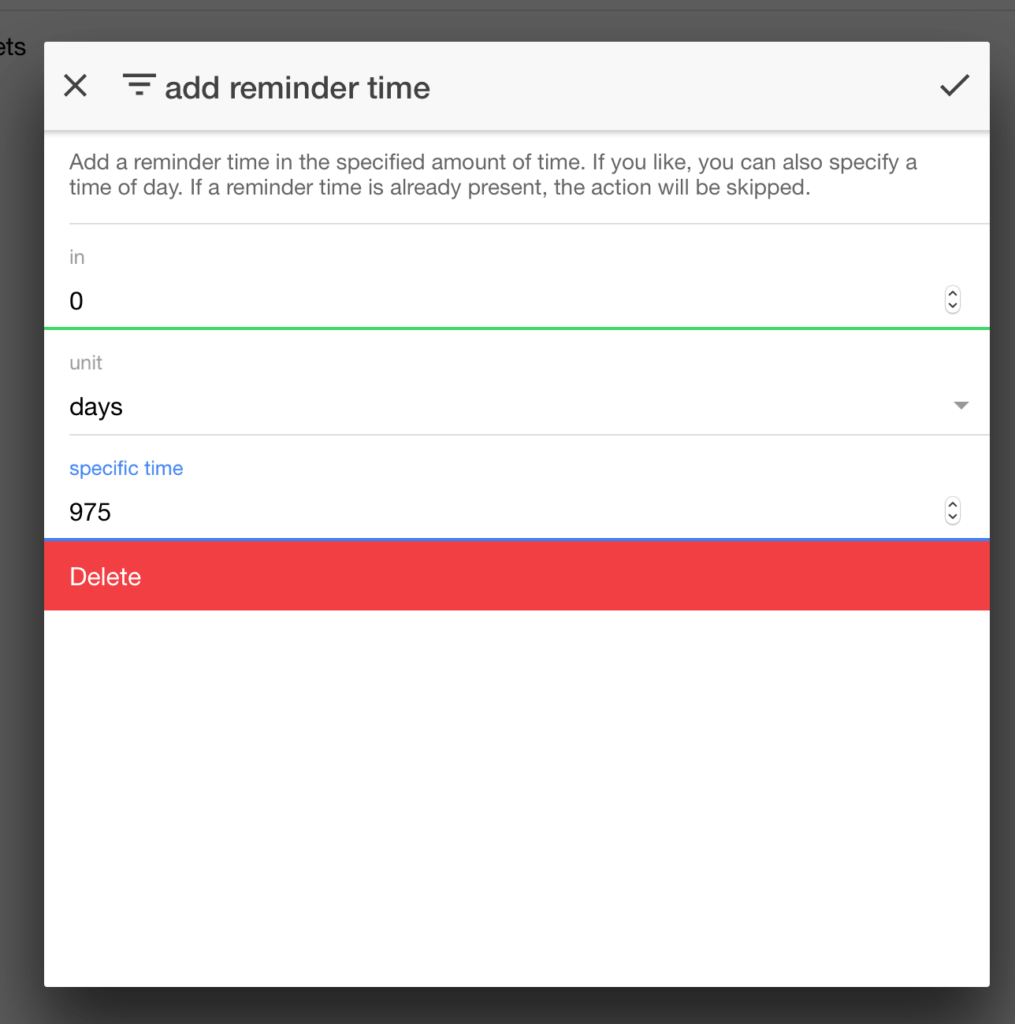
Back in Filterize, paste the link into the field. To set a reminder, click the “+” action icon once more. Choose “Add Reminder Time” and add these settings:
- In: 0
- Unit: days
Specific Time: 975 — This is 4:15 pm. This is the number of minutes since 12:00 am. You may need to do a little math for whatever time you want the reminder to be set for.
Click the checkmark in the upper right-hand.
Here’s the final filter:
Click the check mark once more.
Be sure the toggle is set to “On” and you should be set.
Here’s the completed note with the time, 4:15 reminder set for tomorrow, our tags and template in place and ready to rock.
Of course, you can use this method for any kind of repeated, templated task you need.
Hope that helps.
And the best part is, when you sit down to schedule your reminders on your calendar, your timesheet will already be created with the end of the day set to help you manage your time well and fit everything into your day… every day.