TO Evernote FROM Everywhere
NOTE: This was originally posted on biggreenapp.com and has been migrated here.
HOW do we actually realize “The Dream?” Take a look at some great tools to capture your content into Evernote to be organized and acted upon.
Evernote on every device
Starting with the basics, Evernote is everywhere you are. I need to find my notes from any device, no matter where I am, and Evernote makes that possible.
- On the web: Log in and keep rocking no matter where you are. All you need is a web browser.
- iOS: I’m an Apple guy, and I need Evernote on my iPhone and iPad on the go. Grab the app here.
- macOS: Grab the app for your Apple computer here.
- Android: Let’s be platform agnostic here. Grab the app for your Android device here.
- Microsoft Store: And for Windows friends, here you go.
That covers the app basics. Now on to getting your critical information into Evernote.
Creating a note
Evernote has recently released a huge facelift for IOS apps, and I assume the Mac app will follow. Creating a note is simple, but looks a bit different on each device. For simplicity’s sake, we’ll create a note on the web.
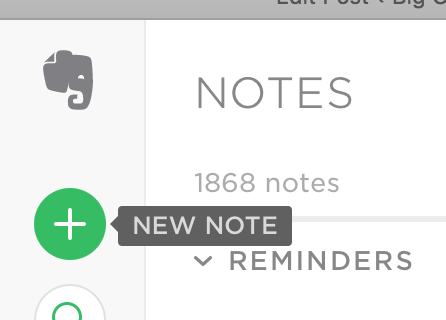
Just click the “New Note” button and you’re off and running.
Here’s the reality though… It’s only a few extra buttons, but I find Evernote presents so many options when taking a quick note that I can’t JUST open the app and create a note. I find myself tempted to open my notes app for simple little stuff along the way. I need a simpler way to capture stuff wherever I go. That’s what we’ll get into next.
Web Content
Apple has recently updated the Notes app with some powerful features that have made a bunch of folks move away from Evernote back to the free “alternative.” Frankly, if that works for you, great! I don’t consider Notes as an alternative to Evernote for several reasons that I’ll cover in a future post. One feature that is a new addition to Notes is the enhanced share features that show more of the context surrounding a website you need to grab and save to your app. In Safari, click the share button and choose Notes, and you’re met with a visual representation of what you’re saving with some general options to create a new note or append to an existing one (a handy feature that I’d like to see come to the Evernote Web Clipper).
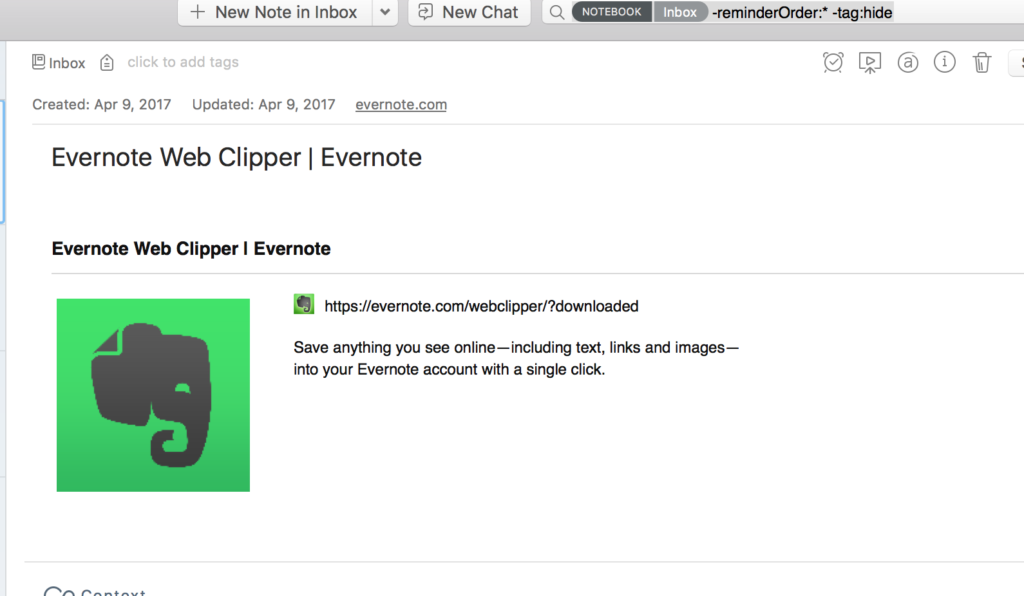
Once shared, here’s the result:
I have to say… an improvement over a simple link.
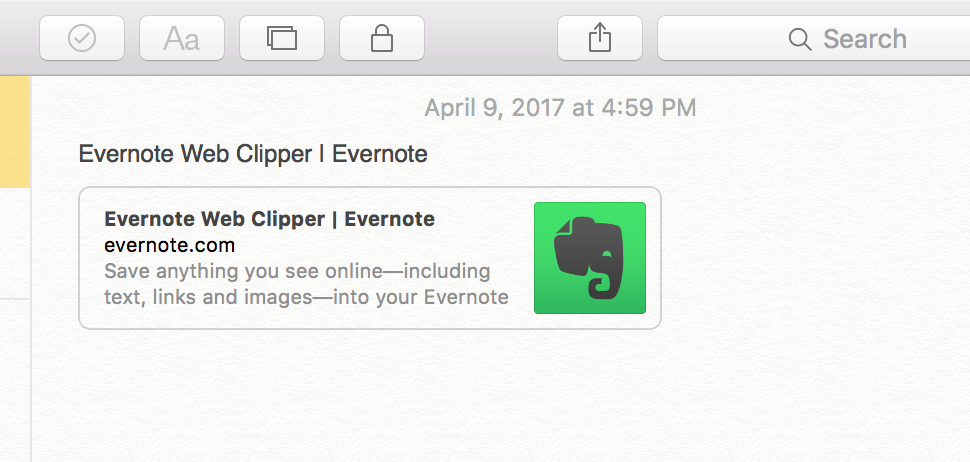
Have you checked out the Evernote Web Clipper though?
You can get the same result by choosing the bookmark option from the list of content options available through the web clipper.

et voila!
And there are more options built right into the web clipper. Share sheets offer similar options for saving clippings on your mobile device.
Pretty handy, but I need to capture a lot more than web pages if I want to really “REMEMBER EVERYTHING.”
Zero out that inbox
Evernote provides another simple way to collect content, and this time it’s for email.
This is, by far, the most important feature of my daily usage of Evernote. I committed a while back to control my email and not let it control me. I manage my email time and get through whatever comes in QUICKLY, taking action on simple things, deleting/archiving the nonessential, and getting stuff I need to spend time on out of my inbox and into my workflow WITHOUT doing a thing about it while I’m working on my email.
Evernote assigned each account an email address to email your notes to. Anything sent there will go to whatever folder you choose.
To find your email address, you need to access your Account Summary. You can do that from your Apple app by clicking on your account name in the upper left-hand corner and selecting “Account Info…” from the dropdown menu. Now click on “More Account Settings” and Evernote will open in your web browser. On the Account Summary page, you’ll see the “Email Notes to” field with your generated email address. That’s the secret sauce!
Unless you specify, this email goes to your default notebook. Not sure where to specify your default notebook? Here are some helpful instructions.
MY default folder is my Inbox folder which is my holding place before I manage and set my workflows. Items do not stay in my inbox, so I don’t plan to specify a destination very often, but it’s good to know that you can add a bunch of information to your email just by adjusting your email subject.
Here’s what I recommend. Take that email address and create a contact card. This way you can easily reference your “Email Notes To” email address at any time and from any device, so long as you use a sync tool like iCloud.
Here’s my Evernote contact card.

Just for when I need it, I grabbed the “template” for specifying other information and added it as a note to my contact card.
[Title of note] ![optional date for Reminder] @[folder] #[tag]
Here’s what an example note might look like:
Order Lot 575 !0410207 @Personal #Wine
Cameron Hughes Lot 575 is at the top of my list, and I recently finished off my last bottle. This email creates a note with the title “Order Lot 575” with a reminder set for the 10th of April in my “Personal” folder with the tag “Wine.”
As I said, I would generally just send the email to my default and deal with proper tasking and filing later, but it’s nice to have the options available when I need them.
Time to get personal
Alright… Great job, folks at Evernote. This is a great start, but it doesn’t make things dead simple for me to get stuff into my account with the greatest of ease. Time to connect some power tools.
This is what I want:
- I want to simply and quickly open a window, type in text, and send it to my inbox. No heavy app loading. No waiting. Just make it easy.
- I want Siri integration! I want to just speak to my phone and have my message land in my Inbox.
This would pretty much round out my options.
No problem. Let’s get to it!
The heart of my solution is a phone number connected to my Evernote account. For this, we’re going to use IFTTT SMS services.
With your free account, you have access to a range of services, including SMS. Create your account and add the service.
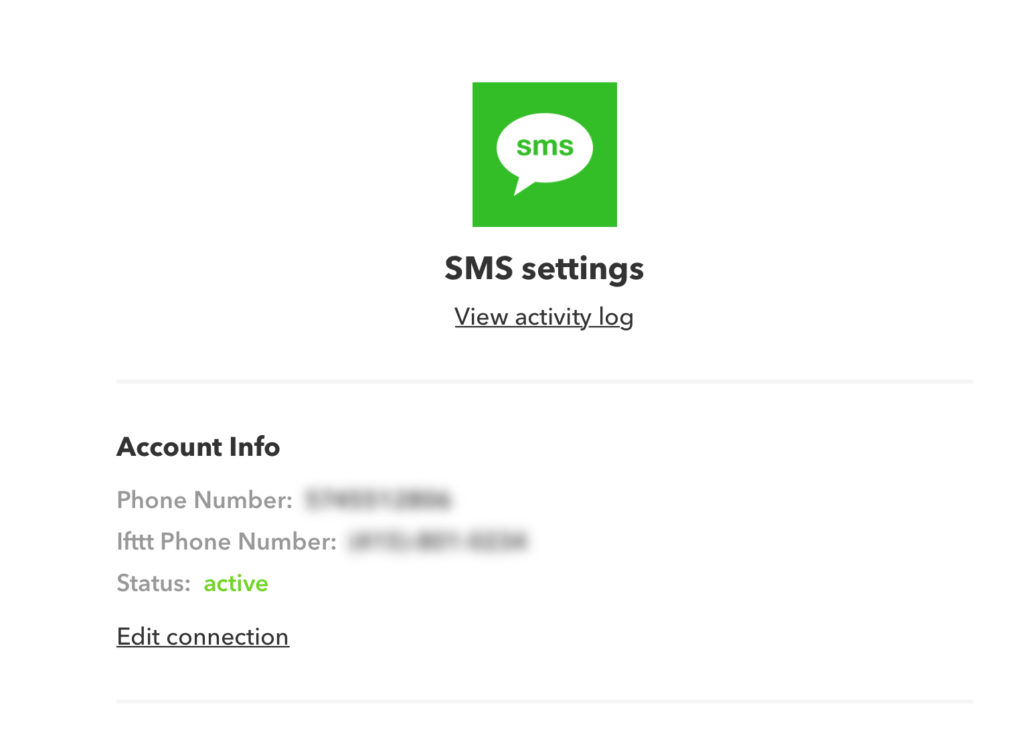
Now we need to set up an Applet that creates a new note from a text message.
There are a slew of Applets you can use, or you can create your own.
Here’s mine.
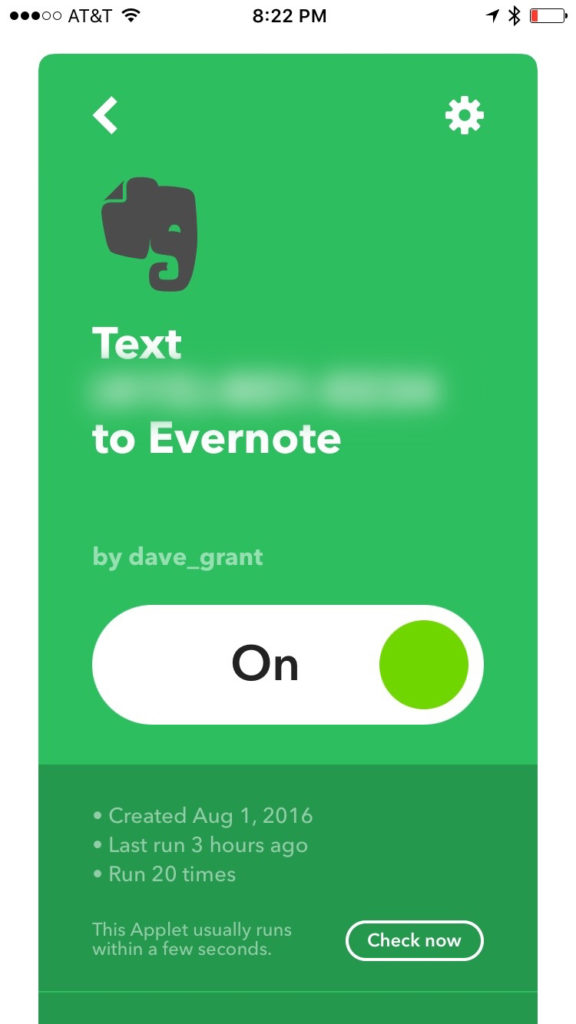
I use these settings:
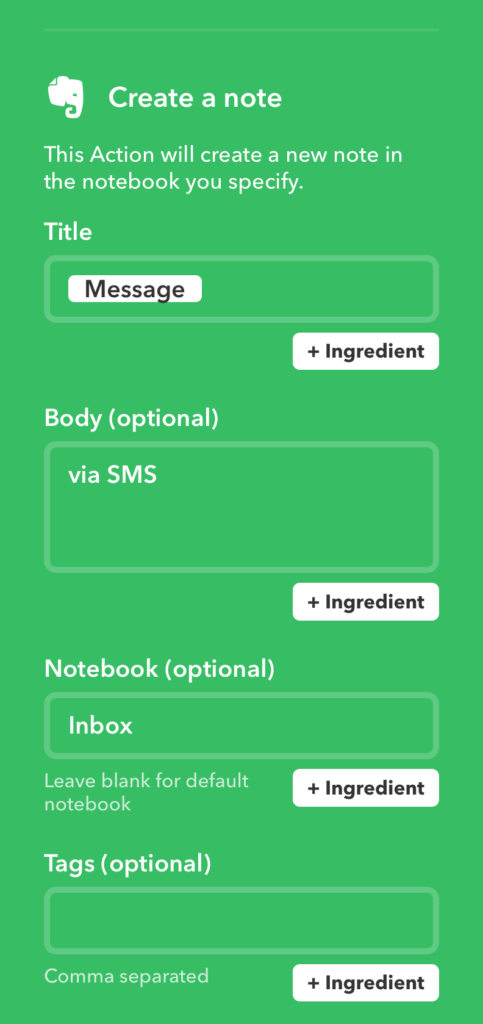
This is pretty simple, but gets the job done.
Now we need to add the phone number to our personal Contact Card.
Here’s my contact card

So, my niece is very clever and told Siri to call me “Sweet Cheeks.” I get a kick out of it, so I’ve left it on there. It’s not my preference. 🙂
I’ve added the phone number and titled it “Assistant.”
Now, “Ahoy, Telephone!” – That’s podcast talk for “Hey Siri” to avoid triggering everyone’s phone.
“Siri, tell my assistant, ‘Create a set list for youth group.’”
And… my reminder is off to my Inbox for scheduling.
One last piece
Now we need to make it dead simple to add a note without opening my Evernote app. While I’m at it, how about grabbing a voice memo too?
To do this, I use the recent Apple acquisition (meaning… this may not work forever), Workflow.
With IFTTT in place, it’s pretty simple.
First, set up your text todo:

This is an extremely easy workflow. I won’t go into detail here, but spend some time playing around. I believe you can do it. Just make sure it sends the text message to the assistant.
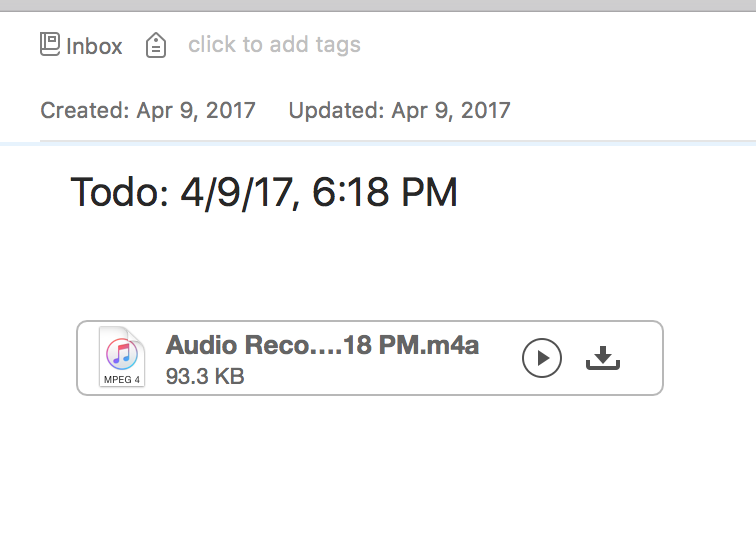
While we’re at it, we’ll also create a workflow for an audio todo:
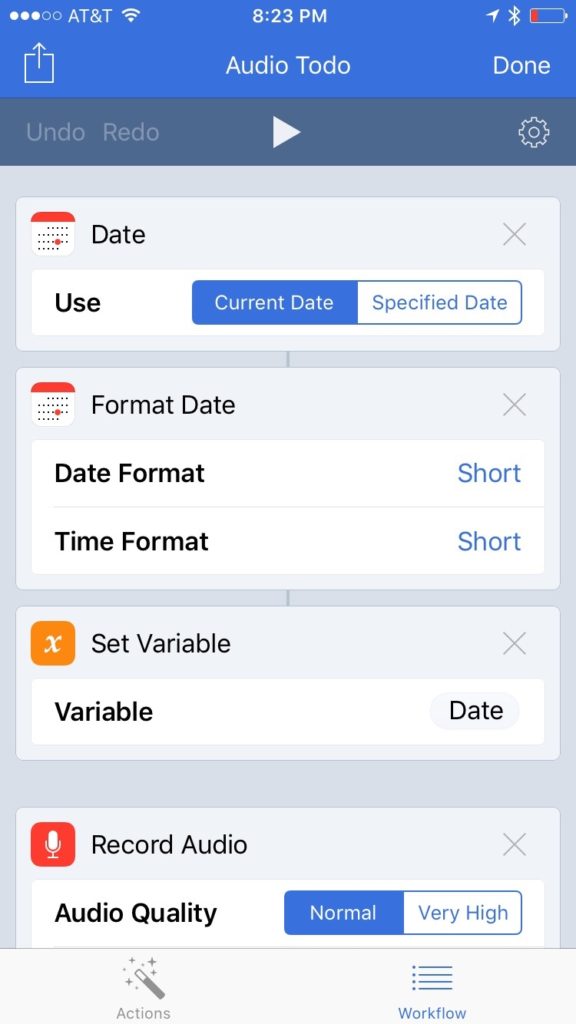
I think this was a workflow I found and added to my library. It has some extras to document the time of my memo. Again, I won’t go into detail here. Comment below if it would be valuable to have more of a tutorial to set this up.
When this workflow runs, it should open your audio recorder, listen for your message, then wrap it up and send it to Evernote.
Now to add these two workflows to your device for easy access.
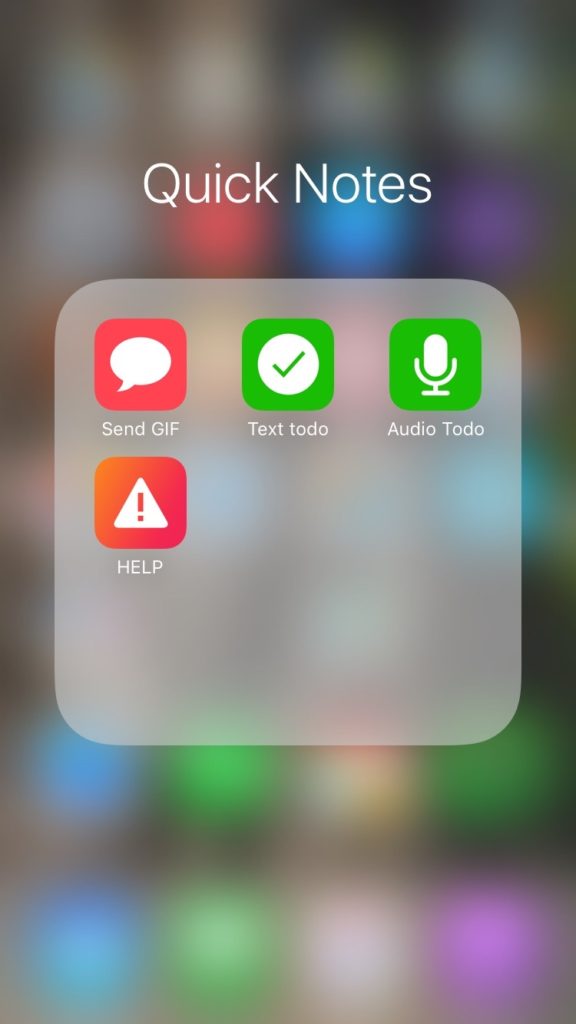
You can add your workflows to your home screen wrapped up with a custom title and icon. They act like an app that you can organize and delete however you’d like.
I’ve dropped my text todo and audio todo workflows in my Quick Notes folder that lives on my home screen with my “Send GIF” workflow and my “Help” workflow (Shh… this workflow calls me with a recorded message if I want to get out of a conversation)
#introvertsunite
There you go!
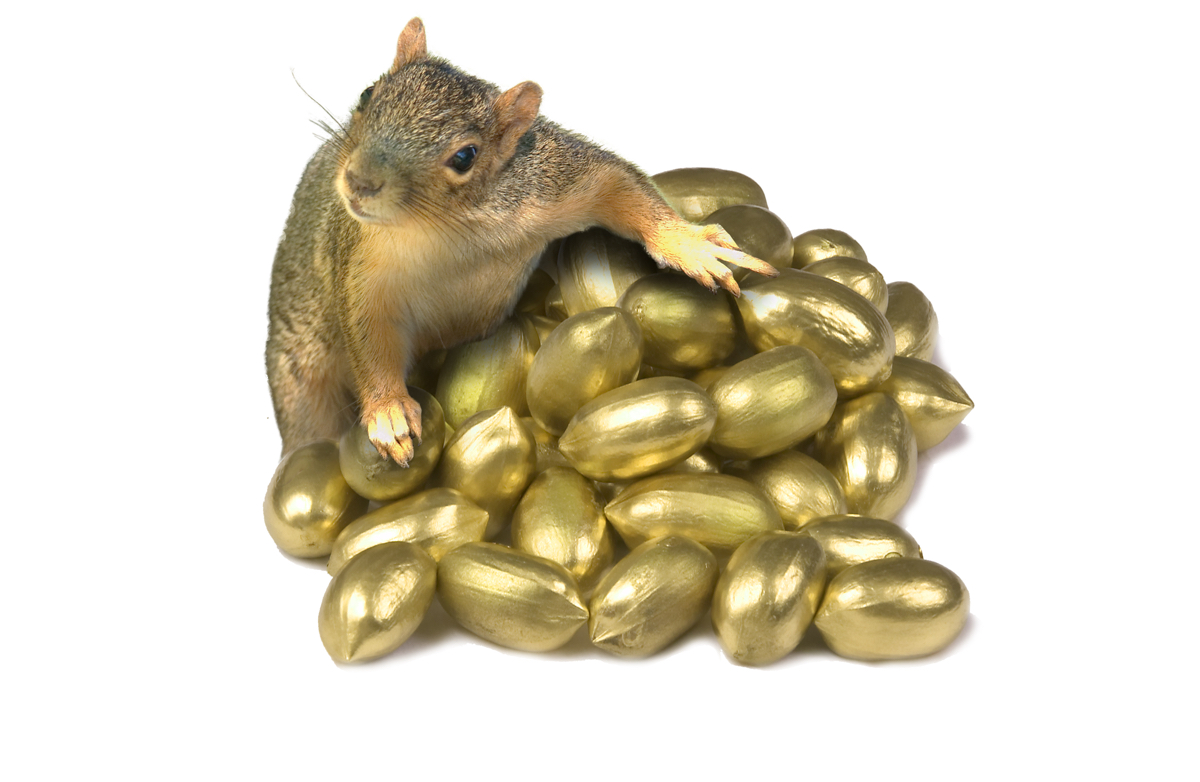
Like the squirrel above, all of my golden nuts are gathered into one place from all over the place.
Let me know if this was helpful to you, or if you have some other methods to gather up your important information.
1 Comment
Comments are closed.